





How to Show Clothes Worn in Your Vinted and Depop Listings
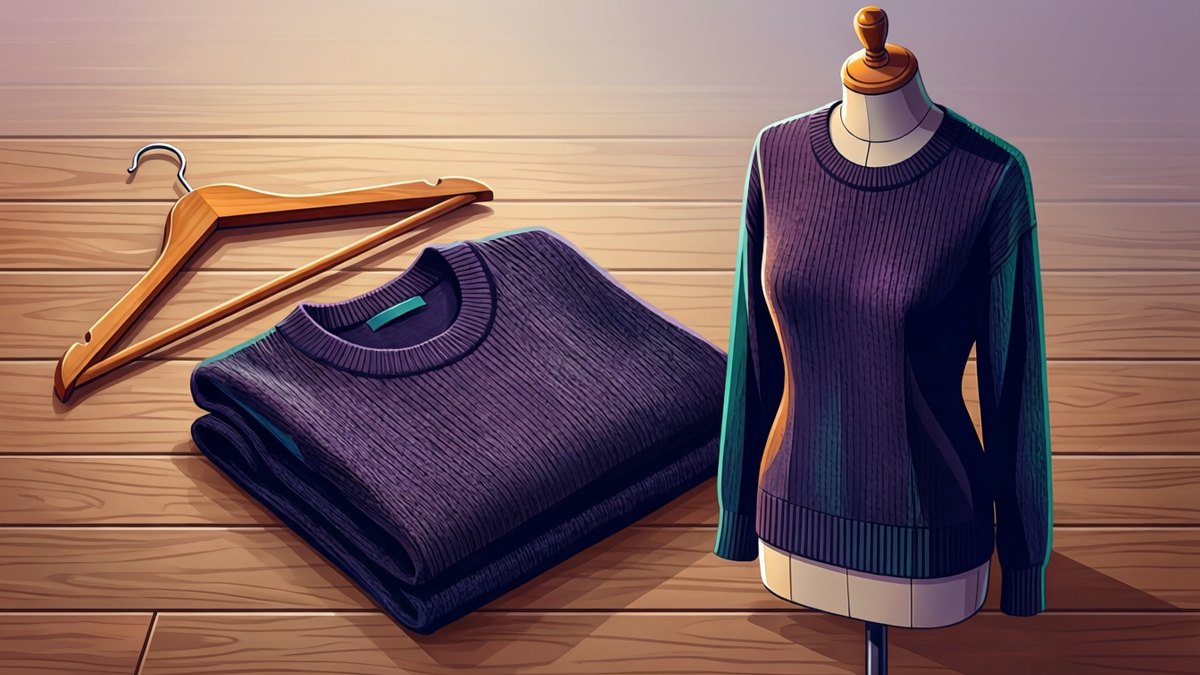
- You can show clothes worn without modelling each piece: shoot the item flat, take one good photo of yourself, and generate a worn preview from the two.
- Photograph every item yourself. Never put the original shop's product photo in a resale listing, because that image belongs to someone else.
- The worn shot goes alongside your real photos, never instead of them. Front, back, labels and every flaw still need a real picture.
- Say in the description that the worn image is an AI preview, and never use it to hide wear or damage.
- Check the marketplace's current listing guidelines before you post, since each site sets its own rules on images.
You have a pile of clothes to sell and no time to try each one on for a photo. Flat lays look tidy, but buyers still can't picture the piece on a body. The fix is simple. Shoot the real item, take one photo of yourself, and let an AI tool show the item on you. Then label that preview honestly and keep your real photos in the listing.
What a buyer learns from seeing a piece on a body
A folded jumper tells a buyer its colour and its pattern. It says little about shape. On a body, the same jumper shows where the hem lands and how the sleeves sit.
Length is the big one. A dress laid flat gives no sense of whether it hits the knee or the ankle. Drape is the other. Heavy fabric hangs straight, thin fabric clings, and a flat lay hides both.
Buyers also judge style from a worn shot, like whether a blazer looks sharp or boxy. A worn image answers those questions before they become messages.
Photograph the item yourself, every time
Your outfit image should be a photo you took of the actual piece you're selling. It is the honest starting point, and it is also what the AI Clothes Changer needs as its second upload.
Flat lay or hanger, in daylight
Lay the item on a plain bed sheet or hang it on a door. Stand near a window on a bright day. Avoid the ceiling light, which turns whites yellow. Smooth out creases and shoot square on. The whole garment should fill the frame. If the sheet behind it looks messy, the AI Background Remover gives a clean cut-out of the item that also works well as the outfit image.
Why the shop's product photo stays out of your listing
You might still have the original shop photo from when you bought the piece. Leave it out. That photo belongs to the shop and its photographer. Republishing it in a resale listing is using someone else's image. It also shows a new garment, not the one you are shipping.
One photo of you that works for every item
You don't need to model ten outfits. You need one strong photo of yourself, taken once and reused for everything you list.
What that photo needs
Stand against a plain, light wall. Get the whole body in the frame, head to feet, since dresses, coats and trousers need full length. Face the camera with arms slightly away from your sides. Use the same soft window light as your item photos. A friend or a timer on a shelf both work.
What to wear in it
Wear plain, neutral, fitted clothes, like a grey vest and dark leggings. They show your outline, so the new garment has a clear shape to follow. Skip baggy hoodies and bold prints. Keep only one person in the shot, with nobody in a mirror behind you. If a plug socket or a bit of clutter sneaks into the wall behind you, AI Magic Edit can clear it from your own photo. Only edit this photo of you, never the photos of the item.
If the photo came out a little soft, sharpen it once with the AI Image Enhancer before you use it. This one file does the work for your whole wardrobe.
Generating the worn shot from your two photos
Upload your photo of yourself as the person image. Upload your flat lay or hanger shot as the outfit image. The tool keeps your face, hair, pose, body shape, background and light. It changes only the clothing the new garment covers. The result is a PNG in the shape of your person photo, usually ready in under a minute.
Use the optional instruction box, up to 200 characters, for styling notes. Try "leave the jacket open" or "tuck the shirt in". If you upload only a jacket, only that layer changes, so "keep my leggings" is rarely needed.
What the preview can and cannot tell a buyer
The worn shot shows colour, pattern, style, length and proportion on a real body. It does not measure anyone. It does not know the garment's real size. Fit is an approximation, so always give real measurements in your description. Very small logos and fine printed text can drift, which is another reason your real label photo matters.
Some items get refused before anything renders, at no cost. Underwear, lingerie and swimwear are not accepted as outfits. List those with your real photos only.
Honesty rules that protect you as a seller
A worn preview helps only while buyers trust it. These rules also keep you out of disputes.
Real photos come first
Always include real photos of the actual item. Show the front, the back, the care and size labels, and every flaw up close. The worn shot sits alongside them as one extra picture. It never replaces any of them.
Label the preview in the description
Write one plain line, such as "Photo 5 is an AI preview of how this looks worn. All other photos show the actual item." Buyers who know what they're looking at don't feel tricked later.
Never use it to cover wear or damage
An AI preview can make a bobbled jumper look smooth. That is exactly why it must never be your proof of condition. If there's a pull, a stain or a faded patch, photograph it for real and mention it in words.
Read the marketplace's current guidelines
Each marketplace writes its own rules about what images a listing may contain. They can change. Check the marketplace's current listing guidelines before you post your first worn preview, and follow them over anything in this article.
What each photo in the listing proves to a buyer
Every photo in the set has one job.
| Photo in the listing | What it proves to the buyer | What it cannot prove |
|---|---|---|
| Front, flat lay or hanger | This exact item exists, in this colour and pattern | How it looks on a body |
| Back | No hidden print, stain or damage on the reverse | Fit or length when worn |
| Size and care labels | The brand, the labelled size and the fabric | How that size fits a given person |
| Flaw close ups | The real condition, including wear | Nothing else, and that is its whole job |
| Tape measure across the item | Real measurements like chest width and length | How the fabric drapes |
| AI worn preview, labelled | Rough shape, length and style on a body | Condition, exact fit or that this item looks this way |
The preview is the only photo that proves nothing about the item itself. It shows shape, not evidence.
This is a rule of thumb ranking, not measured data. The bars show which photos carry the proof of condition, not a score anyone recorded.
Batch ten items in one sitting
The real time saving comes from doing everything in rounds. Here is a workflow for ten pieces.
Round 1, shoot. Set up one spot by the window. Photograph all ten items there: front, back, labels, flaws and a tape measure shot.
Round 2, sort. Make a folder per item, named with a short code like "07 blue blazer". Pick the cleanest front shot as its outfit image.
Round 3, generate. Load your one person photo. Run it with each outfit image in turn. Save each result into that item's folder.
Round 4, check. Compare every preview with the real item photo. Is the colour right? Is the length close? If a logo or print drifted badly, drop the preview for that piece rather than post something misleading.
Round 5, list. Upload the real photos first and the preview after them. Paste your one line AI label into each description with the measurements. If you get stuck on wording, Ask AI can draft a clear description from your notes, but check every detail against the real item before you post.
How many previews your plan covers
Volume decides the plan. A guest gets 1 free outfit change with no account. A free account gets 2 a day, so ten items take five days. Free results carry a small AskAI.free badge. Pro spends 120,000 tokens per change, which works out to about 200 a month, with no badge and results kept in My Files. If you list every week, check Pricing before your next big batch. Uploads are discarded after rendering and never used to train AI.
A preview on your body will not look like the brand's campaign. Why Clothes Look Different on You Than on the Model explains that gap.
Start with your next three listings
Don't redo your whole shop today. Take your one person photo this week, against a plain wall in window light. Pick three items you're about to list. Shoot them for real, generate a worn preview for each, and label it plainly. Put the preview after your real photos. If buyers ask fewer questions about length and shape, roll the routine out to the rest of your rail.