






Why Clothes Look Different on You Than on the Model
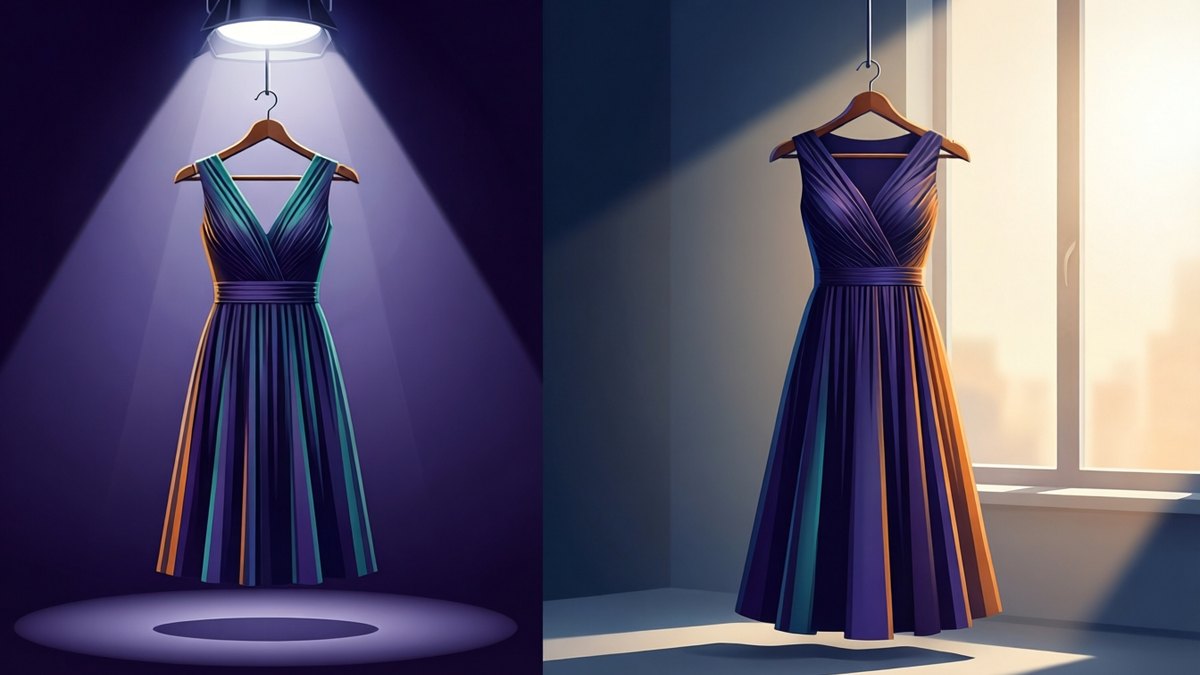
- Clothes look different on you because the product photo is staged. Studio light, retouching, clips at the back, styling and a low camera all change what you see.
- The model's height moves the hem. A dress that stops at a tall model's knee can land well below yours.
- Colour shifts too. Studio light, daylight and your phone screen each show the same fabric a little differently.
- Seeing the garment on your own photo fixes the light, your proportions, your colouring and where the length falls.
- It cannot show real stretch, true fit or how the fabric moves. Treat it as a preview of the look, not a size check.
You loved the top in the photo. Then it arrived, and on you it looked flat, boxy or just wrong. Nothing is wrong with your body. The product photo and your mirror are measuring two different things, and this article shows you the gap.
A product photo is a staged picture, not a preview
A product photo has one job. It shows the garment at its best, on one body, in one pose, in perfect light. That is normal practice across fashion photography, and it is not a trick aimed at you.
Your real life has none of those controls. So the same fabric tells a different story.
You can close part of that gap before you buy. Put the garment on a photo of yourself with the free AI Clothes Changer. It keeps your face, pose, body shape, background and lighting, and swaps only the clothing the new garment covers. First, though, it helps to know what the studio changes.
Studio light and retouching smooth out every crease
Studio shoots use big, soft lights from several sides. Soft light fills in shadows. That hides wrinkles, lumps at the seams and the slight sheen of cheaper fabric.
Retouching then finishes the job. Stray threads vanish and creases get painted out.
At home, one window or lamp lights you from one side. Every fold now throws a shadow, so a crisp shirt can look rumpled.
Clips at the back and styling at the front
Pins and clamps behind the model
Many sample garments are made in one size. To make that size look fitted on the model, stylists often gather the spare fabric at the back. They hold it with pins or clamps where the camera cannot see.
From the front, the waist looks nipped in and the sides fall straight. On you, with nothing pulled tight behind, the same cut hangs looser. That boxy feeling is often the missing clip, not your shape.
Tucks, belts and rolled sleeves
Styling changes shape more than people expect. A half tuck gives a waist to a straight shirt. A belt turns a loose dress into a fitted one. Rolled sleeves make a long shirt look relaxed and neat.
Wear it straight out of the bag and you get the plain version. When you try it on your own photo, you can copy the styling. Type a note such as "tuck the shirt in" or "leave the jacket open" in the optional instruction box, which takes up to 200 characters.
Camera height and lens choice stretch the legs
Fashion photographers often shoot full length from a low camera, around hip or knee height. A low camera makes legs look longer and the body taller. A longer lens, used from further back, also keeps proportions slim and flat.
Your own photos are usually taken from eye height, or held above you in a mirror. That angle does the opposite. It shortens the legs and makes the top half look bigger.
Compare a low studio angle with a high selfie angle and the garment will always lose. For a fair test, take your person photo with the phone at about waist height, a few steps back.
Why the hem lands somewhere else on your legs
This is the biggest effect, and the easiest to miss. A garment has a fixed length. Where that length ends depends on the body wearing it.
Models are often much taller than the average shopper. A dress that stops at a tall model's knee has to keep going on a shorter person. It ends mid calf instead. Crop tops, jacket sleeves and trouser breaks all move in the same way.
Example figures with round numbers, not measurements. They assume a dress 95 cm long from the shoulder and a shoulder height of about 82% of body height. Real bodies vary, so use this to see the shape of the effect, not to predict your own hem.
The same dress sits almost 20 cm lower on the shortest wearer. On a tall model it's knee length. On a shorter shopper, it's a midi.
Colour shifts between studio light, daylight and your screen
Studio lights are balanced to a neutral white. Daylight is cooler at noon and warmer near sunset. Indoor bulbs are often yellow. Each one shifts how a fabric looks.
Screens add another layer. A "stone" beige on one screen can look pink or grey on another.
Your own colouring matters too. A shade that glows next to the model's skin and hair can wash you out, or the other way round. You can't judge that from a photo of someone else.
What seeing it on your own photo fixes, and what it cannot
What it fixes
A try-on on your own photo removes the model from the question. You see the garment in your light, on your proportions, next to your skin and hair. The length falls where it would fall on your photo, so you can see if a hem sits at your knee or your calf. Upload a full length photo for dresses, coats and trousers, and a waist-up photo for tops.
You also control the styling. Upload a single jacket and only that layer changes, over clothes you already own.
What it cannot do
The tool does not measure you. It does not know the garment's real size, and it does not pick a size. Fit on the result is an approximation. It cannot show how much a fabric stretches, where it pulls, or how it moves when you walk.
Colour has a limit too. The garment starts from the shop's photo, so any colour shift in that photo carries over. Want to see another colourway? AI Magic Edit can recolour the result from one sentence. Very small logos and fine printed text can drift. For the size question, measure yourself and read the listing's size guide. A picture cannot answer it.
Model photo effects compared with real life
Here is each effect in one place.
| Model photo effect | What you see in real life | Does a try-on on your photo help? |
|---|---|---|
| Soft studio light and retouching | Visible creases, shadows in folds, fabric sheen | Yes. It renders the garment in your photo's light. |
| Fabric pinned or clamped at the back | A looser, boxier hang at the sides and waist | Partly. It shows the shape on your body, but fit is an approximation. |
| Tucks, belts and rolled sleeves | The plain, untucked version of the piece | Yes. Add a styling note to copy the look, or leave it off to see it plain. |
| Low camera and long lens | Shorter looking legs in your own photos | Yes, if you shoot your person photo from about waist height. |
| Model's height and proportions | A hem, sleeve or crop that lands somewhere else | Yes. Length and proportion follow your photo. |
| Colour under studio light and on screens | A shade that looks warmer, cooler or duller | Partly. You see it next to your colouring, but it starts from the shop photo's colour. |
| One perfect still pose | Stretch, pulling and movement as you walk | No. A single image cannot show stretch or motion. |
What to check in the result before you decide
Stand in daylight near a window for your person photo, with arms a little away from your body. If your only photo is small or soft, run it through the AI Image Enhancer first. Then open the result at full size and work down this list.
If the result passes the look test, the size chart makes the final call. If it fails, you've saved an order and a return. Check the shop's current returns page before you buy either way.
Put one saved garment on your own photo tonight
Pick the item you're least sure about. Save its product photo, or a clear shot of it on a hanger. Take a full length photo of yourself at waist height, in daylight. Upload both, add a styling note if the shop photo used a tuck or belt, and read the result against the checklist.
Your first change needs no account, and a free account gives you two a day. If you compare a lot of outfits each week, see Pricing for Pro, which gives about 200 changes a month with no badge. The photos you upload are discarded after rendering and never used to train AI. Keep saved shop photos for your own try-ons only, and never repost them.