





How to Save a Clothing Product Photo for a Virtual Try-On
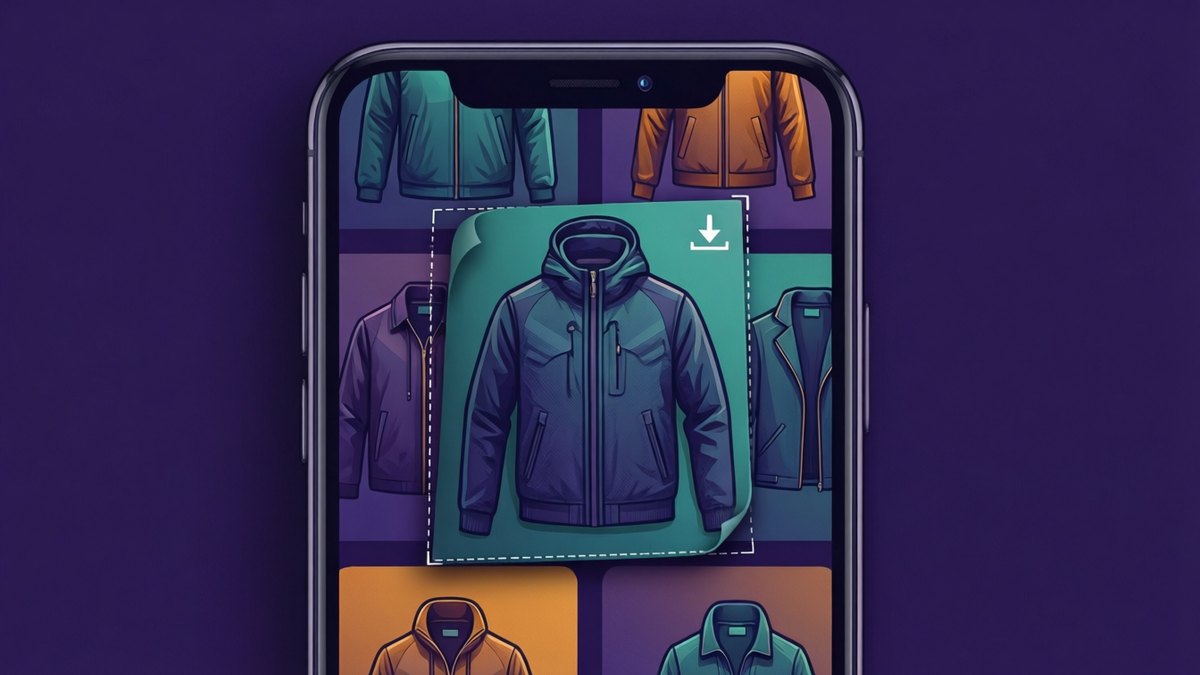
- Long-press the product image to save it on a phone, or right-click and choose "Save image as" on a computer. If that fails, take a screenshot and crop it.
- Pick the plainest picture in the gallery: a flat lay or ghost mannequin first, then a front view of the model at full length.
- Skip zoomed detail shots, back views and lifestyle shots with more than one person. A second person gets the image refused.
- Crop so the garment fills the frame, then check the size: 500 KB as a guest, 2 MB on a free account, 10 MB on Pro.
- JPG, PNG and WebP upload fine. Convert HEIC to JPG first, or just screenshot it.
You found a jacket you like and want to see it on you before you buy. The try-on tool needs a clean picture of that jacket. Shops don't make that easy. To save one, press and hold the photo on your phone, or right-click it on a computer. When that doesn't work, screenshot it and crop. The rest of this guide shows which photo to pick and how to get it ready.
Pick the right picture in the product gallery
Product galleries hold several photos, and they are not equal.
The AI Clothes Changer takes two uploads. One is a photo of you. The other is the outfit image. It reads the garment's colour, pattern, length and shape from that second picture. So the best outfit image shows the whole garment, from the front, with nothing in the way.
The ranking, best to worst
First choice: a flat lay or ghost mannequin. The garment alone, on a plain background, with no body or clutter.
Second choice: the model from the front, full length. You see how the fabric hangs and where the hem falls. For dresses, coats and trousers, full length matters.
Never: back views, zoomed details or group shots. A back view shows the wrong side. A fabric close-up has no shape. A second person gets the image refused.
This is a rule of thumb ranking, not measured data. The bar lengths show order of preference only. Nobody recorded these as scores.
| Image type in the gallery | What it shows | How well it works as an outfit image |
|---|---|---|
| Flat lay on white or grey | Whole garment, front, no body | Excellent. Use it whenever it exists. |
| Ghost mannequin | Garment shaped like it is worn | Excellent. Shape and neckline read clearly. |
| Model, front, full length | Garment on a body, top to hem | Good. Best choice for dresses, coats and trousers. |
| Model, front, waist up | Top half only | Good for tops. Poor for anything longer. |
| Model turned or walking | Garment at an angle | Fair. Front details may go missing. |
| Back view | The wrong side of the garment | Poor. You will see the back on your front. |
| Close-up of fabric or a detail | Texture, no shape | Poor. There is no garment outline to work from. |
| Lifestyle shot with other people | Two or more people, busy scene | Refused. Crop to one garment or pick another photo. |
Save the photo on your phone or computer
Tap the photo you chose so it opens large. That gives you a sharper file.
On an iPhone
In Safari, press and hold the large product image. A menu appears. Choose the option to save it to Photos. The image lands in your photo library.
No menu? The page may block it, or you may be in a shop's own app. Take a screenshot instead. Press the side button and the volume up button together. On older iPhones with a Home button, press the side or top button and Home together.
On an Android phone
In Chrome, press and hold the image, then choose "Download image". Other browsers offer a similar save option in the same menu. The file usually goes to your Downloads folder.
For a screenshot, press the power and volume down buttons together. That works on most phones.
On a laptop or desktop
Right-click the image and choose "Save image as". On a Mac trackpad, click with two fingers or hold Control while you click. Pick a folder you'll find again.
A screenshot is quick here too. On a Mac, press Command, Shift and 4, then drag a box around the garment. On Windows, press the Windows key, Shift and S, drag a box, then save it from the preview.
Why a screenshot often beats "save image" in shopping apps
Many shopping apps show no save option at all. A screenshot works in any app, on any page.
Saving from a website has traps too. You may get a tiny thumbnail, a format the uploader won't take, or a huge zoom-size file. A screenshot avoids all three. You get exactly what is on screen. If a saved file still comes out as a tiny thumbnail, the AI Image Upscaler can enlarge it so the pattern reads clearly.
Open the photo large, but don't zoom past the garment's edges. That cuts off the hem or sleeves.
Crop so the garment fills the frame
Crop away wide margins, logos and price labels. The garment should fill most of the picture, with a thin border around it. If a sale sticker sits on the garment itself, where a crop cannot reach, AI Magic Edit can paint it out.
On an iPhone, tap the small preview that appears after a screenshot. Drag the edges in, then save. On Android, most phones show a preview with an edit or crop button. You can also crop later in your gallery app.
Cut out the second person
This is the rule people miss most. If another model stands in the photo, even at the edge, the tool refuses it. It will not merge two people. Crop until only one person, or just the garment, remains.
Cropping the model's face out is often a good idea too. A frame from chin to hem keeps the clothing as the clear subject.
Clean up a busy background
Some shops only show the garment on a model in a street or a room. If the background is busy, lift the garment out with the AI Background Remover first. A plain background makes the garment's outline easy to read.
Getting under the 500 KB, 2 MB and 10 MB limits
Each upload has a size cap. As a guest you get one free outfit change, and each image must be 500 KB or less. A free account allows 2 MB per image and two changes a day. Pro and Max allow 10 MB.
Saved shop photos and PNG screenshots can both run large. If yours is over, try these in order.
- Crop tighter. Fewer pixels means a smaller file. This alone often works.
- Screenshot at normal zoom. Replace a giant saved file with a screenshot of the photo at normal size.
- Save it as JPG. A JPG of the same picture is usually much smaller than a PNG.
Don't shrink it to a postage stamp, though. The garment still needs to be clear enough to read the pattern. If you try on a lot of clothes, check Pricing to see what Pro includes. It covers about 200 changes a month, 10 MB images and no badge on the result.
JPG, PNG and WebP work. HEIC needs one extra step.
The uploader takes JPG, PNG and WebP files. Most shop photos and screenshots are already one of these.
HEIC is the one to watch. iPhones save camera photos in HEIC by default. That matters if you photograph a garment yourself, say one hanging in your wardrobe. Convert it to JPG before you upload. The simplest fix is a screenshot of the photo, because iPhone screenshots save as PNG. You can also change your camera setting to Most Compatible, which makes new photos save as JPG. Menus differ between phones, so if you cannot find it, tell Ask AI your phone model and ask where the setting lives.
Check the end of the file name. If it isn't .jpg, .png or .webp, screenshot it instead.
Keep shop photos for your own try-on
Saving a shop's product photo to try it on privately is fine. You're not sharing it with anyone. Your uploads are discarded after rendering and never used to train AI.
Posting that photo somewhere else is different. Don't reuse a shop's image in a resale listing or on social media as if it were yours. The photo belongs to the shop. If you're selling clothes, shoot your own.
Keep your expectations honest too. The try-on shows colour, pattern, style and length on your body, in your light. It does not measure you or know the garment's real size. Fit is an approximation, and small logos or fine printed text can drift. For more on turning a try-on into a buying decision, read How to Try On Shein Clothes Before You Order.
Your garment photo, from shop page to upload
Open the product page and find the plainest front view. Save it with a long-press or right-click, or screenshot it. Crop it tight, with no second person. Check the size and the file ending. Then upload it next to a photo of you, add a note like "tuck the shirt in" if you want one, and see the result in under a minute.